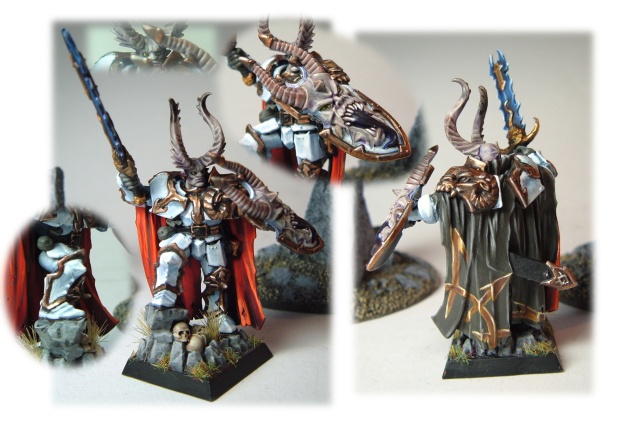
What the … where did March go? Beltane preparation and the remainder of my time being bled by Games Workshop Edinburgh’s Battle of the Brush competition. March’s challenge was a specific model: the Chaos Lord. Have a look at their Facebook Page for January & February’s models.
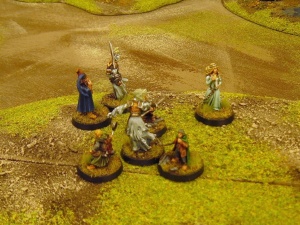
Here’s my punt at the model. Quick conversion and white armour, because I wanted the challenge. Looking at it i’m thinking more freehand on the thigh-plates would have been a good idea… Voting is on Saturday 6th April on their Facebook Page. Just sayin’.
Gaming-wise I got in a 1,250-point Warhammer game against new guy at [elg], David. Vampire Counts against Empire and what did I learn in the three turns we played? Don’t support a combat with Skeletons as they’re simply free Combat Resolution. I lost my Wraiths against Inner Circle Knights that way; without that ‘support’ I reckon they would have ground it out. After the Ogre game last month i’m leaning towards playing a ‘come to me’ army, but as i’m currently running an old-school army should I start to include the new stuff from the book: Crypt Horrors, Terrorgheist, and so on. I have some Bat Swarms and Spirit Hosts to add first and then We’ll see.
And what about The Lord of the Rings? We managed to get it together enough to play Scenario 5: Fog on the Barrow Downs: Nick, Jason and I taking it in turns to see if we can rescue the Hobbits from the ancient horrors. In typical style the first play-through got us used to the Special Rules (and there are a lot of them in this scenario), with Nick and Jason adding their spin with using the Gamer Approach as mentioned in the last article. This time saw Nick deliberately make the Hobbits Aware of the Barrow Wights so that they could call Tom Bombadil as soon as possible.
And you know what? It worked a treat! Tom came bounding onto the table and started making it really difficult for the Wights. However, this was balanced well by the free Will the Wights could use when standing around the Barrows. Resultt? Hobbits lose two of their number to the sacrificial blades of the Barrow Wights.
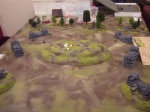
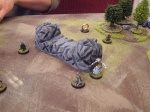
Next up and Jason played in a similar manner to Nick, but avoided getting stuck around a barrow and took the fight to the hill at the centre of the board. This worked well for him, but not as well as his terribly above average dice. They were on fire and he consistently made rolls of ‘6’ when the Hobbits were rolling on their natural Magic resistance to avoid paralysis. Crazy times! The first pic below shows the heroic stand on the hill; when Goldberry arrived it was very much Game Over for the Barrow Wights.
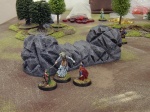
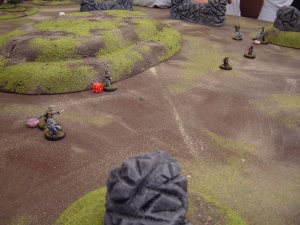
Final game and I decided to make a break for it. You know what? Hobbits simply cannot outrun anything and they were caught in good time by the Wights. Despite a rather early appearance from Tom Bombadil there wasn’t much he could do as I was already 2/3 of the way across the table and that was just too far for his incredible help. The last photo below shows the Hobbits making a break for it. The purple beads show paralysed models, so as you can see I was trying to get two Hobbits off-board before the other two were sacrificed, with Tom angling to save one of those. You know what? That was a terrible idea.
Final result: Good 2-1 Evil. Nick’s Pippin died a second time, but made it through; my Merry bought the farm, then sold it again, so he can play next time. Good fun was had and now for the painting of Weathertop…

